The Sniff Test Nobody Passes
Walk into the room your hamster lives in and take one honest breath. If you can identify the cage from across the room, the schedule has already failed, and it failed days ago rather than this morning. On the opposite side sit owners who dump every inch of bedding every Sunday and bleach the whole cage down, and their hamster spends the week stressed, marking furiously, and chewing bars by Wednesday. Both camps show up constantly in our reader mail, and both are doing it wrong.
The cage-cleaning question sounds trivial until you dig into what actually goes wrong. Clean too rarely and ammonia from broken-down urine irritates a respiratory system that is already fragile, because hamsters hide illness until it is expensive. Clean too aggressively and you erase the scent map a hamster depends on to feel safe, which is a documented trigger for bar chewing and cage rage. The fix is not a stronger cleaner or a stricter calendar. It is a three-tier schedule: three minutes a day, ten minutes a week, and one thorough session a month that respects the scent map instead of demolishing it.
Why Cleaning Frequency Is a Health Question, Not Housekeeping
Urine does not smell the moment it leaves the animal. The sharp ammonia smell everyone associates with dirty cages comes from urea breaking down over days, and the rate climbs with warmth and humidity. That ammonia concentrates low in the enclosure, exactly where a hamster's nose sits, a few centimeters off the bedding. Small animals run fast metabolisms and carry small lung volumes, so continuous low-level irritation adds up faster than most owners expect.
According to the RSPCA, soiled bedding in a hamster enclosure should be removed regularly while some unsoiled, familiar bedding is left in place, because clearing everything out at once can be stressful for the animal. That single sentence is the whole philosophy of this article. The goal is removing waste, not sterilizing a habitat the animal has spent a week carefully organizing. A hamster sorts its cage into a toilet zone, a food cache, a sleeping nest, and a highway. Your cleaning plan should respect that geography rather than flatten it.
There is a second clock running too: moisture. Damp patches from a leaky bottle or a piece of leftover cucumber are mold incubators. Mold spores in a small enclosed space with poor ventilation are a respiratory hazard, and wet bedding invites skin and fungal problems you would rather never meet. This is why the daily tier of the schedule exists. Moisture is a same-day problem, ammonia is a weekly problem, and the full reset is a monthly one.
The Daily Three Minutes: Spot Clean Like You Mean It
Every day, ideally while your hamster is naturally asleep and unlikely to protest, run this loop:
Lift the wheel or hideout and pull out any visibly wet or soiled bedding with a small scoop, taking only the dirty patch and a finger-width border around it. Top the gap with a pinch of clean bedding so the floor depth stays even. Collect fresh produce that has not been eaten within a few hours, because cucumber, broccoli and leafy greens turn slimy fast and attract gnats. Check the water bottle nozzle for clogs or drips and wipe any wet patch beneath it, since that corner is where mold starts. Glance at the droppings in the toilet corner; a sudden change in number or texture is often the earliest visible health signal, well before lethargy shows.
That is the whole daily routine. Three to four minutes once your hands know the moves. It sounds too small to matter, but spot cleaning daily keeps the weekly job small and the monthly job bearable. Owners who skip this tier always end up doing the other two tiers more often and more violently.
The Sand-Bath Trick That Halves the Mess
Hamsters, like many rodents, are remarkably tidy about one thing: they prefer to toilet in a single corner, often the one farthest from the nest. You can exploit that instinct instead of fighting it. Place a generous sand bath in the corner the hamster has already chosen, and most individuals will start using the sand as a toilet as well as a grooming station. The sand dries the waste and clumps it, you scoop daily like a tiny litter box, and the surrounding bedding stays dry far longer.
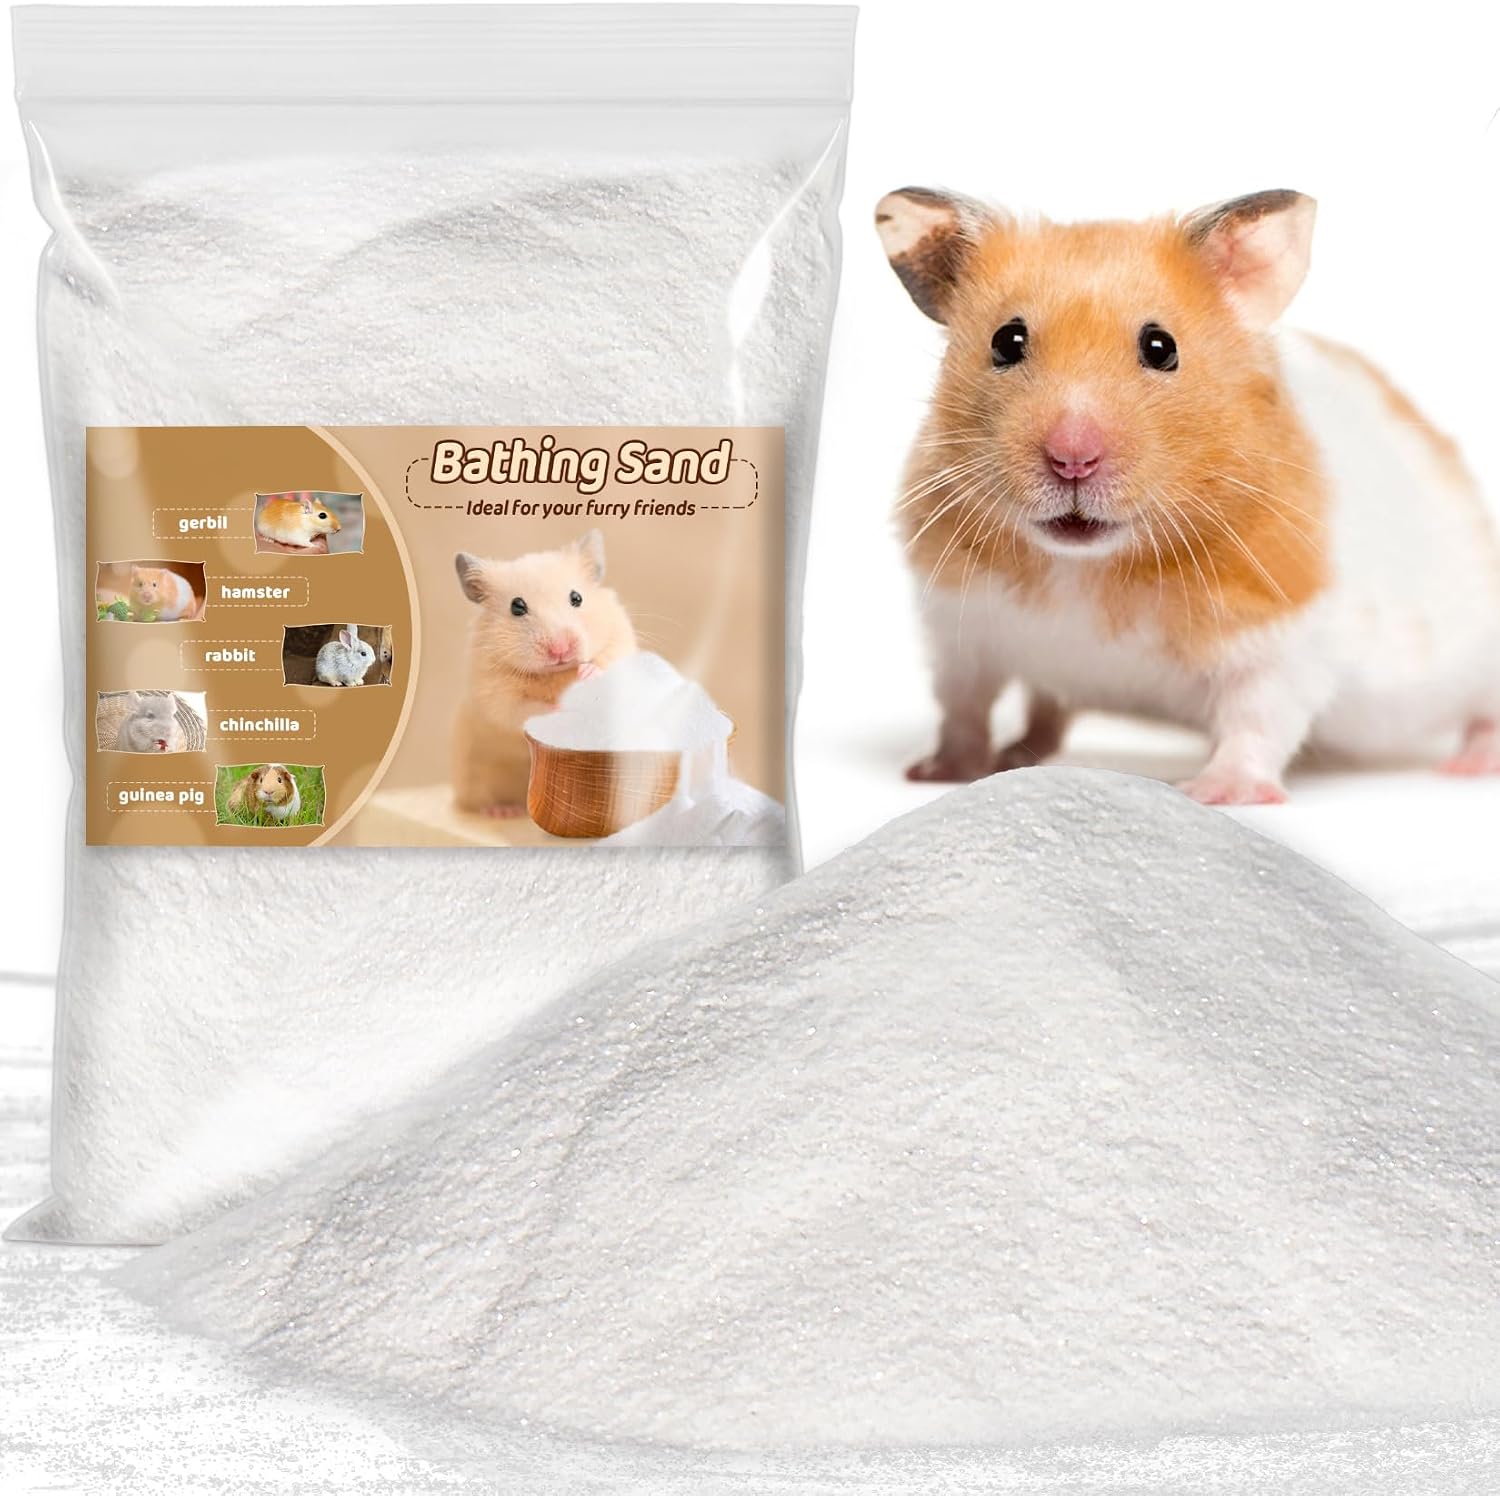
We recommend a dedicated sand container rather than a pile on the floor, because a contained tub keeps the sand where it belongs and turns scooping into a ten-second job. A product like the Sukh Hamster Sand Bath with fine silica sand suits this role well; the fine, dust-free texture is right for both coat grooming and toilet duty. One warning drawn from veterinary guidance: use proper sand, never chinchilla dust, and never sand with added powder, because fine dust is a respiratory irritant for dwarf hamsters in particular.
Swap the sand fully every few days and wash the container weekly with the same unscented soap you use on dishes. If your hamster ignores the sand toilet after two weeks, accept the corner it picked instead and spot-clean that corner more aggressively. The animal wins this negotiation every time; your job is to make its choice cheap to maintain.
The Weekly Reset: Change a Third, Not the Whole Bedding
Once a week, do a partial change: remove roughly one third of the bedding, prioritizing the toilet corner, any damp zones, and the bedding under the wheel. Leave the nest area untouched unless it is visibly soiled. A sleeping hamster's nest is its most valuable possession, and replacing it weekly is how you teach a normally calm animal to startle at every entry into the room.
While your hands are in there, run the weekly hardware pass. Wipe the wheel rim, because the running surface collects urine and becomes a smell engine by day five. Wash the food bowl. Scrape dried droppings off platforms and ramps. If the bottle hangs inside, run hot water through it and brush the tube, because biofilm inside a sipper tube is invisible and tastes stale enough that some hamsters start refusing water. Water refusal in a hamster becomes an emergency within a day, given how fast small animals dehydrate, so the tube brush is not optional equipment.
The one-third rule has a second benefit: it keeps the bedding's microbial balance stable. A cage that is partially refreshed maintains a familiar micro-community; a cage that is sterilized weekly forces the hamster's immune system to renegotiate a brand new environment every seven days. We are not suggesting you leave waste in place. We are saying that the nest and the scent-mapped tunnels are structure, and structure has value worth protecting.
The Monthly Deep Clean: Thorough Without Trauma
Once a month, schedule roughly forty minutes and pick a time when you can supervise the hamster comfortably outside the cage. The sequence matters more than the products.
First, move the hamster into temporary housing. A travel carrier works for short sessions, but for a proper deep clean you want floor space, a water source, and room for a handful of bedding and a food cache. A folding pen solves this neatly. Something like the VISCOO 12-panel small animal playpen gives you a safe, escape-resistant holding area you can set up on the floor in a couple of minutes, with space for the hideout, a water dish, and a pile of the hamster's old bedding so it has a recognizable anchor while its actual home is being serviced.
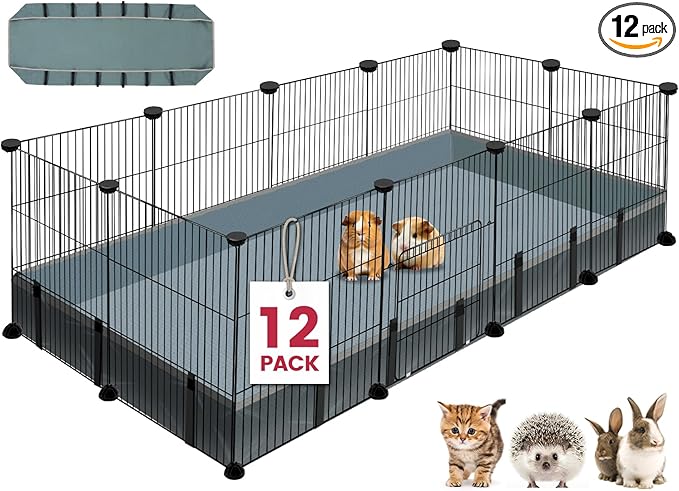
Second, take everything out. Remove all bedding into a bag, keeping a generous handful of unsoiled bedding from the nest area set aside. Sweep or vacuum the empty cage. Third, wash every surface: cage base, bars, platforms, ramps, wheel, hideouts, the works. Fourth, rinse thoroughly. This step is where impatient people fail, because soap residue that seems trivial to a human is a taste and smell problem to a two-ounce animal. Fifth, dry everything completely. A damp surface plus fresh bedding plus a hamster returning the same evening is how you seed mold in week one of a brand new month.
Sixth, reassemble deliberately. Lay down fresh bedding, return the reserved handful of old nest bedding and press it roughly where the nest was, rebuild the main tunnel structure approximately where the hamster had it, and put the toilet-corner sand back in its usual spot. You are not decorating; you are restoring a familiar floor plan. Then return the hamster, open the pen, and let it walk back in on its own. Do not chase, do not lift and drop it into the cage. The walk-in costs you an extra minute and saves you a week of rebuilding trust.
What to Clean With, and What Never Touches the Cage
You need exactly two cleaning agents, and you probably own both. Plain unscented dish soap handles routine washing, and white vinegar diluted one to one with water shifts the mineral deposits and urine scale that soap cannot, especially on glass and plastic around the bottle zone. Vinegar needs ten minutes of contact time on heavy scale, then a firm wipe and a thorough rinse.
The never list is longer than the always list, and it matters more. No bleach in an occupied small-animal room; chlorine fumes in a space this small are disproportionate to what a kitchen can tolerate. No pine or phenol-based disinfectants, because phenolic compounds are documented respiratory and liver hazards for small animals. According to the ASPCA, harsh cleaners and strong-smelling chemicals should be kept away from small pets entirely, and their guidance on small animal care applies directly here. No scented all-purpose sprays, no floor cleaner mist drifting toward the cage, no fabric softener on any fleece that goes into the cage. If a product smells like a product, it does not go near the cage. Hot water, dish soap, vinegar, a stiff brush, and patience clean a hamster cage better than anything with a warning label on it.
Practical details that save time: keep a dedicated bucket with brushes, gloves, and paper towels so the monthly session starts instantly. Retire cage sponges monthly. Wash with hot water, rinse until your nose confirms nothing remains, and dry with paper towels you then throw away. Speed is the difference between a deep clean that happens and one that keeps sliding to next Sunday.
Bottle, Wheel, and the Hardware That Generates Half the Smell
Most of the ammonia in a well-run cage comes from three objects: the wheel, the bottle corner, and the food cache. Handle them specifically and every other part of the schedule gets easier.
The wheel gets a quick wipe daily in most homes. A rim coated in dried urine is the single largest smell source in a hamster cage, and scrubbing residue that has dried for a week takes ten times longer than wiping it fresh. Bottles earn extra suspicion because drip-style nozzles leak onto bedding and create the damp corner that starts every mold problem. A genuinely drip-free design like the Choco Nose no-drip water bottle with the 10mm nozzle removes that failure mode, since the sealed nozzle only releases water when the animal drinks and the bedding beneath stays dry. Whatever bottle you use, brush the tube weekly and check that the ball bearing moves freely; a sticky ball is how water refusal incidents begin.
The food cache is the third villain. Hamsters hoard by design, and perishables hidden in a nest for three days are a spoilage hazard. During the daily spot clean, do a quick cache audit under the favorite hideout and pull anything moist. Keep dry staple mix in the cache, since that is what hoards are for, and serve perishables in small portions that get finished or collected within hours.
When Your Setup Fights the Schedule
Some cages make every cleaning tier harder, and it is worth being honest about equipment. Deep plastic tubs with smooth walls clean fastest. Wire bar floors are impossible to sanitize properly and we think they do not belong in any hamster setup anyway. Cages with pull-out trays turn the toilet corner into a ten-second job instead of a digging expedition. Wooden furniture inside the cage absorbs urine over months no matter how well you clean, which is why hideouts and platforms belong on the monthly inspection list: if a wooden piece still smells at arm's length after drying, it is due for replacement, not another scrub.
This is one place where spending a little more at purchase time pays a recurring dividend. A cage built with removable, washable liners, like the wooden hamster cage with two machine-washable liners and adjustable ventilation windows, turns the weekly reset into a swap-and-wash instead of a scrape-and-wipe. We are not saying every owner needs a new cage. We are saying that if your current setup makes the daily three minutes feel like twenty, the equipment is the problem, and the schedule will keep failing until that changes.
Five Signs the Schedule Has Slipped
Schedules drift, and the cage will tell you before your nose does. Watch for these: you can smell the cage from several steps away, especially in the first hour after lights on. The wheel carries a visible gray or yellow film rather than a faint sheen. Bedding under the bottle stays damp more than a day after you last wiped it. Gnats appear near the cage, which means something organic is rotting somewhere your routine is missing. The hamster itself changes behavior: a sudden digging frenzy at the toilet corner, sleeping outside the nest, or refusing the wheel can all mean the cage has crossed from lived-in to dirty from the animal's point of view.
Any one of these means tighten the daily tier first. In the reader reports we collect, the daily three minutes is almost always the tier that quietly disappeared.
Adjustments for the Other Small Pets
The three-tier logic transfers across species, but the ratios shift because output differs wildly.
Guinea pigs produce several times the waste volume of a hamster and eat perishables constantly, so their daily tier is heavier. Remove leftover vegetables within a few hours, spot-clean twice daily in a large colony, and plan the weekly partial for the whole floor. Their hay, served loose and generous, needs the damp-corner check daily too, because wet hay molds fast and a pig will still eat it.
Rabbits with a litter box setup are the easiest of the three. Empty the litter tray daily, refresh the hay in the box, and the weekly tier is mostly hardware. The monthly deep clean matters less for odor and more for checking chew damage on fences, hides, and baseboards.
Chinchillas are dry animals with minimal urine odor, so their cage stays cleaner longer. The schedule's role shifts to dust-bath hygiene: keep the bath sand fresh and keep the bath house out of the cage except during sessions. Gerbils, like hamsters, are hoarders and corner-toileters, so the sand trick works well for them too, but their tunnel systems are architecture, and we would rather you under-clean the tunnels than collapse a burrow they spent weeks building. Spot the surface, protect the structure.
Six Mistakes That Make Cleaning Harder
First, full dumps every week. You erase the scent map, stress the animal, and often increase marking and odor as the hamster rushes to re-scent everything. Second, bleach or scented cleaners, for the fume and residue reasons above. Third, cleaning while the hamster watches from inside the cage, which teaches it that your hands mean disruption; move the animal first, always. Fourth, wet reassembly, because a damp cage plus fresh bedding equals mold you will not see until it smells. Fifth, replacing the hideout and the bedding and rearranging the layout in the same session, which triples the environmental change the animal must absorb; spread big changes across separate weeks. Sixth, skipping the cache audit and then wondering why gnats arrived in October.
The Ten-Minute Weekly Audit
Run this list once a week and the monthly deep clean becomes a formality rather than a rescue mission. Wheel wiped and spinning freely. Toilet corner scooped and sand fresh. No damp patches anywhere, bottle corner above all. Cache audit done, no perishables older than a day. Nozzle brushed, ball bearing moving, water level stable across the week. Bedding depth even, at least twenty-five centimeters if you are running a burrow-friendly setup for a dwarf hamster. Hideouts and platforms sniffed at arm's length, with any persistent urine smell meaning the monthly replacement list. Then log one line: how many minutes the whole thing took. When that number creeps up, something in the setup or the schedule needs attention, and you will know exactly which tier to fix.
A clean cage is not a sterile cage. It is a cage where waste never gets a head start, the nest survives every week intact, and the animal walks back into a home that still smells like home. That is the standard we hold the schedule to: three minutes a day, ten a week, forty a month, and no ammoniated weekends.
Related Reading
Want more on this topic? Check out our guides on rabbit head tilt wry neck causes treatment guide, best silent running wheels exercise discs small pets, what can guinea pigs eat.