You Don't Have an Algae Problem. You Have a Balance Problem
Disclosure: PawCritic is reader-supported. A few links below are Amazon affiliate links, and we may earn a small commission if you purchase through them at no extra cost to you.
The number one mistake algae-frustrated aquarists make is treating algae like a pest to be scrubbed away instead of a symptom to be diagnosed. Tanks that become overrun with green slime almost always have something out of whack underneath it — usually light, sometimes nutrients, occasionally neglect. Algae isn't invading your tank. It's telling you exactly what's wrong. You just have to learn the language.
Here's the encouraging part: algae spores are in every aquarium on the planet, including pristine show tanks. The difference between a crystal-clear display tank and a green soup isn't luck or expensive gadgets. It's a handful of habits, applied consistently, that tip the competitive balance in favor of your plants and against the algae. This guide walks you through diagnosing your specific algae type, fixing the root cause, and building a maintenance routine that keeps it gone.
Step 1: Identify What You're Actually Looking At
Not all algae are created equal, and treating brown diatom film with the strategy for black beard algae is like treating a sunburn with antibiotics. Totally wrong tool.
Brown algae (diatoms) show up as a dusty brown coating on glass, substrate, and decorations, most often in tanks under six months old. They feed on silicates and thrive in low light. Honestly, in a new tank, they're close to harmless — most burn out on their own once the tank matures. Wipe them off, be patient.
Green spot algae form hard, circular, dark green patches that cling to glass and slow-growing plants like anubias. These come from high light plus low CO2 or phosphate imbalance. They're the algae most commonly reported in tanks running strong LED lights on planted setups that skipped CO2 injection.
Green water (single-celled algae bloom) turns your whole tank into pea soup. You can't see your fish. This is almost always a lighting or nutrient spike — sometimes both. Overfeeding and direct sunlight through a window are the usual suspects. A persistent bloom in a 55-gallon tank often traces back to afternoon sun hitting the glass for three hours a day. Blackout fixes it in four days.
Black beard algae (BBA) appear as dark, tufty growths on leaf edges, filter outlets, and hardscape. They feel crusty when rubbed. BBA is the algae of unstable CO2 and organics-rich water — dying plants, infrequent filter cleaning, fluctuating parameters. It's the hardest to beat, so prevention matters enormously here.
Hair or thread algae are fuzzy green strands that wave in the current, often on plants. They indicate excess iron or light with unbalanced nutrients. Manual removal plus a fast-growing plant to outcompete them usually wins.
Blue-green algae (cyanobacteria) aren't actually algae at all — they're bacteria forming slimy, blue-green sheets with a distinctive smell. They signal dead spots, low flow, and high dissolved organics. Cyanobacteria is the one situation where an antibiotic treatment is sometimes considered, but only after manual removal and flow fixes fail, and it's worth noting that using antibiotics in a display tank affects your biological filter. Talk to an aquatic veterinarian before going that route — the American Veterinary Medical Association maintains a directory of aquaculture and exotic vets, and it's worth bookmarking.
Step 2: Audit Your Lighting Before Anything Else
If only one variable could be fixed in most algae-plagued tanks, it would be light. Nine times out of ten, someone stuck a powerful full-spectrum LED on a timer set to eight, ten, or — this genuinely happens — fourteen hours a day. Plants can only photosynthesize so much; past a certain point, extra light feeds algae and stresses your plants.
Here's a reliable rule of thumb: 6 to 8 hours of light per day for planted tanks, 5 to 6 for fish-only tanks. Not a minute more. Put the light on a cheap outlet timer so it's consistent — algae love irregular schedules, and plants hate them.
Run a proper audit. Note where your tank sits relative to windows. Even indirect daylight adds hours of usable light you're not counting. If your tank catches direct sun for more than an hour, move it or close the blinds during that window. That's inconvenient. Do it anyway.
Also check the age of your bulbs if you're running older T5 or T8 fixtures. Fluorescent spectrum drifts toward algae-friendly wavelengths as tubes age, typically after 10 to 12 months. LEDs don't shift the same way, but cheap no-name LEDs often run far brighter than their specs claim — if you're running one and fighting green spot algae, dim it or raise it a few inches above the water surface.
For an active bloom, run a three-day blackout: turn the lights off completely, cover the tank with a towel if the room is bright, and don't feed the fish during the blackout (they'll be fine — healthy fish easily go three days without food). Do not do a blackout on a heavily planted tank, though, or you'll starve the plants and make things worse.
Step 3: Cut the Food, Cut the Fuel
Every flake you drop that isn't eaten becomes algae food. Phosphates and nitrates from decaying food are basically fertilizer, and algae are far better at grabbing dilute nutrients than most aquarium plants. When an aquarist reports a tank that's 'always green,' the first question is how much they feed and how much hits the substrate.
Feed once or twice daily, an amount your fish finish in about 30 seconds — yes, seconds, not minutes. Watch where the food goes. If pellets are sinking into the gravel and vanishing, you're overfeeding or your bottom feeders aren't keeping up. Net out anything uneaten after a few minutes.
Alongside feeding, siphon the substrate at every water change. Mulm trapped in gravel leaches phosphate continuously. And clean or rinse your filter media monthly in old tank water — never tap water, which kills your nitrifying bacteria with chlorine. A filter clogged with organics is a slow-release algae feeder.
Step 4: Get Your Water Parameters on Paper
You cannot fight what you won't measure. Get a reliable liquid test kit — test strips are a poor choice for this job because phosphate readings from strips are nearly useless — and record your numbers for a few weeks. The UF/IFAS Extension EDIS program has published extensively on nutrient pollution driving algal blooms in natural waterways, and the same principles apply in miniature: excess phosphorus and nitrogen, plus light, equals algae.
Targets that generally keep algae marginal in a freshwater tank:
- Nitrate between 10 and 30 ppm (0 to 5 ppm with plants usually means your plants are starving and algae move in — yes, too-clean water causes algae too)
- Phosphate between 0.5 and 2 ppm in planted tanks
- CO2 stable at 20 to 30 ppm if you're injecting, because fluctuating CO2 is the number-one BBA trigger
- Consistent water temperature — swings stress plants, and stressed plants stop competing
That last point about too-clean water surprises people. Planted tanks with relentless green spot algae often belong to owners doing 50% water changes twice a week and stripping every nutrient out. The algae had the water column to themselves. Dosing a balanced fertilizer turned those tanks around within a month because the plants finally had something to eat.
Step 5: Add Plants — Real Competitors
Fast-growing plants are the closest thing to a cheat code in algae control. Floating plants like frogbit, red root floaters, and water sprite gulp nitrate and phosphate directly from the water column, and they shade the tank slightly, which algae dislike. In problem tanks that get rehabilitated, the turnaround almost always coincides with adding a thick mat of floaters.
Stocking density matters here. A single sad amazon sword in a 40-gallon tank won't outcompete anything. Aim for enough plant mass that you're trimming something every couple of weeks. If you don't want a jungle, that's the trade-off you're accepting: fewer plants means more manual algae labor. There's no version of this hobby with neither.
One caution: dying plants make algae worse, not better, because they dump organics into the water. If a plant is melting or rotting, prune the dead leaves immediately. Don't leave them to decompose 'for the snails.'
Step 6: Water Changes With a Schedule, Not a Guilt Trip
The standard advice — change 25% weekly — works fine for most community tanks. But the schedule matters less than the consistency. Two 15% changes a week beat one 40% change every three weeks. Big, irregular changes cause parameter swings, and swings are what let algae grab the wheel.
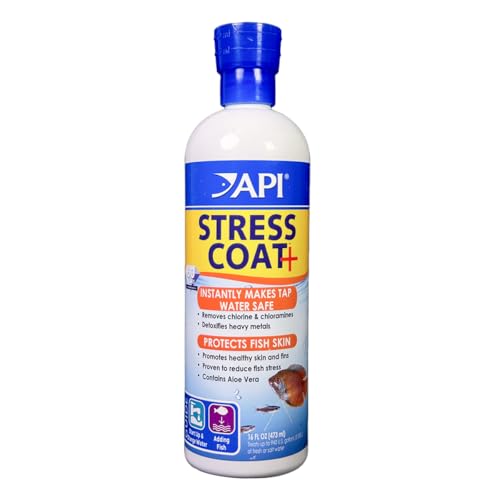
Use a gravel vacuum during changes, match new water temperature within a couple of degrees, and always dechlorinate. A big bottle of conditioner is the right tool for exactly this job — something like API Stress Coat handles chlorine and chloramine while coating fish slime, which reduces stress during the disruption water changes inevitably cause.
For tanks with persistent algae, temporarily step up to twice-weekly 30% changes for three or four weeks. This dilutes spore density and exports nutrients faster than algae can reproduce. It's not a forever routine; it's a reset.
Step 7: Manual Removal — Do It Right
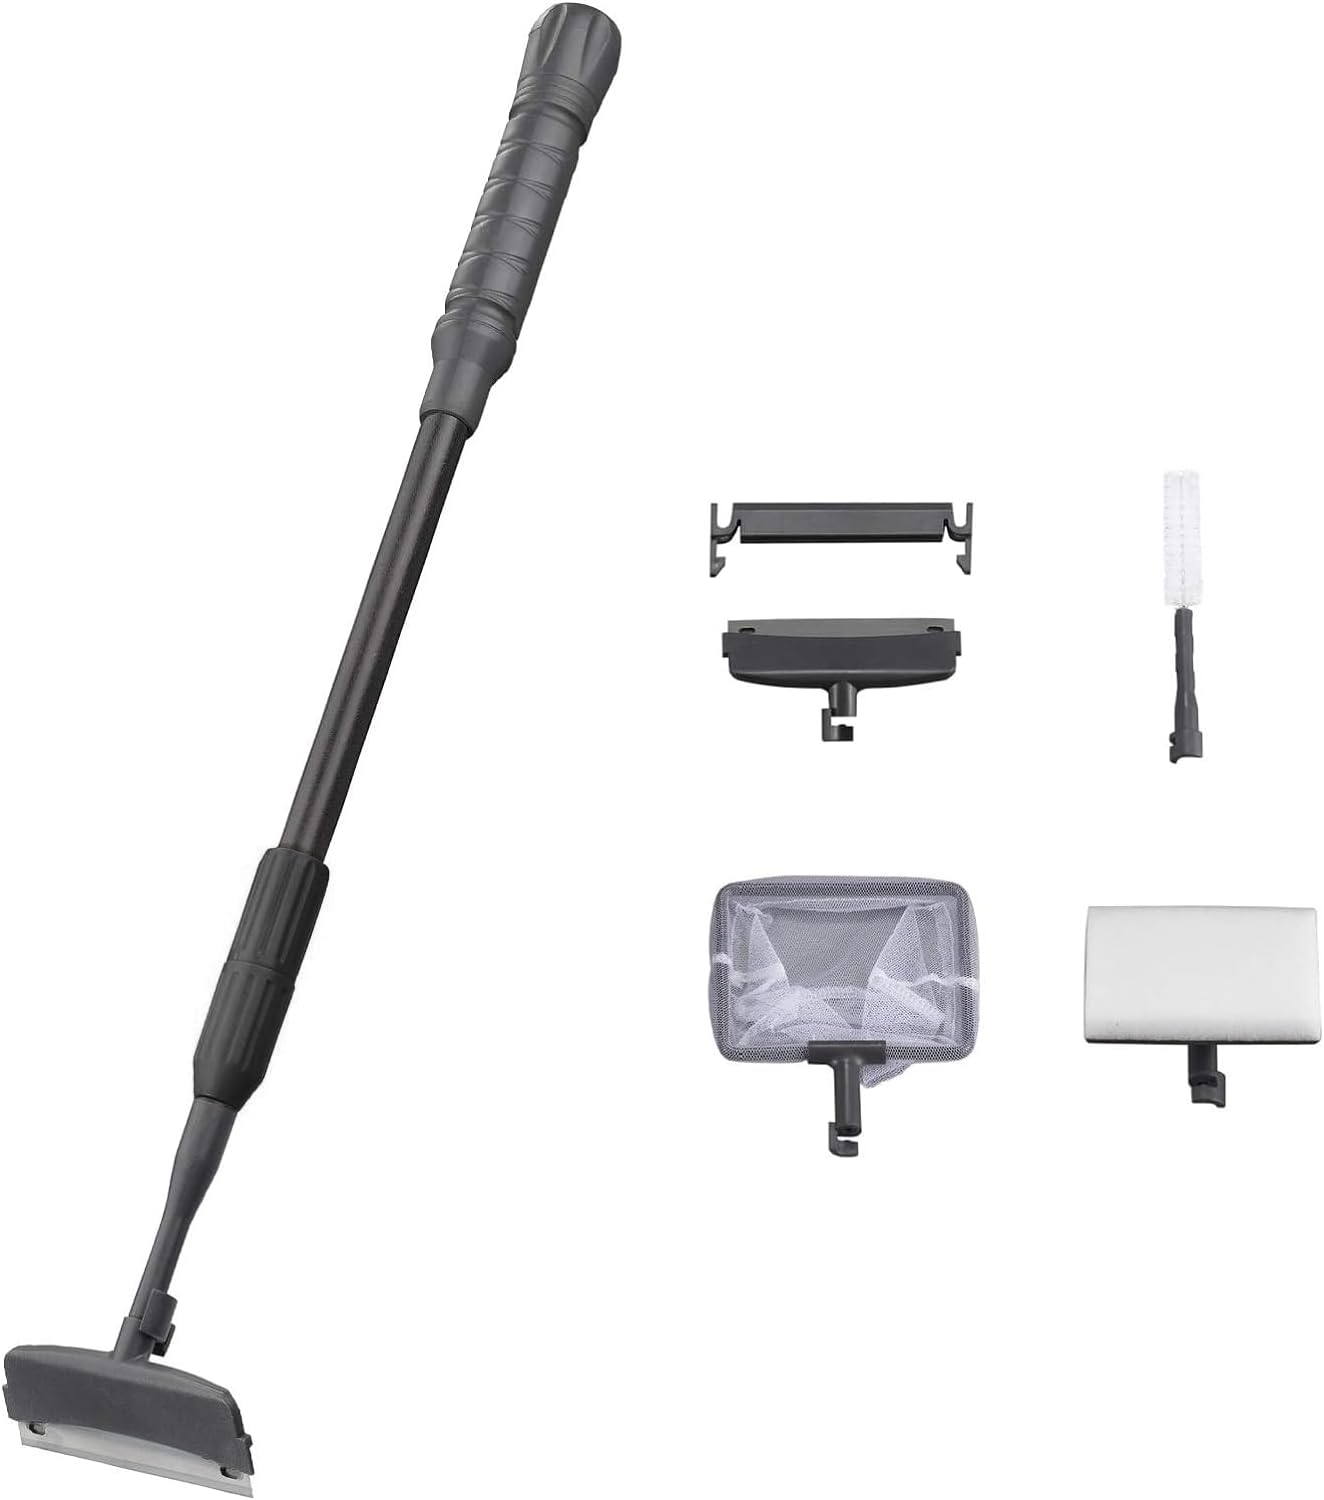
Scrubbing isn't the cure, but it's still part of the plan, because every patch of algae you remove is a nutrient export and a spore source eliminated. Use an algae scraper or a magnetic cleaner like the Penn-Plax magnetic algae cleaner for routine glass film — it takes ten seconds a day and prevents buildup from ever becoming visible. For green spot algae on glass, a razor blade scraper (acrylic-safe versions for acrylic tanks, please — a razor on acrylic leaves permanent scratches) does the job.
For BBA and hair algae on hardscape, remove the piece and treat it outside the tank: a 1:20 bleach dip for two minutes for non-porous hardscape, followed by a thorough rinse and dechlorinator soak, kills most of it. Plants can take a gentler dip, but delicate species may melt, so test on one leaf first. Toothbrushes are fantastic for twisting hair algae off plants — spin the strands onto the bristles like cotton candy.
Never scrub a cyanobacteria sheet in the tank. It releases pieces that float off and recolonize elsewhere. Siphon the sheet out whole.
Step 8: Consider Cleanup Crews — With Realistic Expectations
To be blunt, because the internet oversells this: no animal eats your way out of an algae problem. But the right cleanup crew handles maintenance-level algae beautifully.
Nerite snails are the best glass cleaners in freshwater — they can't reproduce in your tank, and they demolish soft green film and diatoms. Amano shrimp are the gold standard for hair algae; in a group of five or more in a 20-gallon tank, they graze constantly. Otocinclus catfish work diatoms in schools of six-plus, though they're sensitive and should only go into mature tanks. Plecostomus are hit or miss — common plecos grow to 18 inches and produce enormous waste, making the problem worse long-term, while bristlenose plecos stay manageable at 4 to 5 inches and do eat some green film.
Whichever you choose, these animals need their own food once the algae runs low. A starving cleanup crew is a welfare problem, not a maintenance solution. Toss in a blanched zucchini slice or an algae wafer a couple of times a week — something like Hikari algae wafers keeps bottom crew and plecos fed without polluting the water. And quarantine new inverts and fish like you would anything else; one imported disease in your display tank erases months of work.
Step 9: Check Flow and Filtration
Dead spots breed cyanobacteria and BBA. Walk around your tank's perspective: is water moving through every corner? If decor blocks flow, rearrange it or add a small circulation pump. Your filter should turn over the tank volume roughly 4 to 6 times per hour in freshwater — more if heavily stocked. And rinse mechanical media monthly, because a filter packed with trapped gunk leaches phosphate back into the water column continuously.
Realistic Timelines, Because Algae Doesn't Vanish Overnight
After you fix the root cause, expect visible improvement in two to four weeks and real stability in two to three months. Diatoms in new tanks clear fastest — often on their own by month four. Green water responds within days of a blackout plus reduced light. BBA is the long war: existing tufts won't disappear from water changes alone, so manual removal plus stability is the play, and even then, you're managing it more than eradicating it. Anyone promising overnight cures is selling something.
The pattern to internalize is simple: light balanced against nutrients, both held steady, with plants doing the competing and you doing the exporting. When algae return — and they will, in small amounts, forever — that's not failure. A faint film on the glass between cleanings is normal in a healthy tank. A tank that's spotless forever usually means something is sterile, not balanced.
Your First Weekend Plan
If your tank is green right now and you want to start today, here's the sequence. Test your water and write the numbers down. Set your light timer to six hours. Net out any visible waste and siphon the substrate with a 30% water change. Scrape the glass. Cut feeding by a third and commit to the 30-seconds-and-gone rule. Add fast-growing plants or floaters if you don't have them. Then repeat the water change in three days, and again three days after that.
Do that for a month without skipping, and the algae problem very likely shrinks to a footnote. The hobby rewards patience more than products — but the handful of tools above, a timer, and a test kit are genuinely all most tanks need. The scrubbing-only approach fails every time because it treats the symptom while feeding the cause. Fix the balance, and the algae quietly lose the war they were winning.
Related Reading
Want more on this topic? Check out our guides on how often change aquarium water schedule guide, best aquarium sponge filters fry shrimp nano tanks, aquarium snails good vs bad guide.